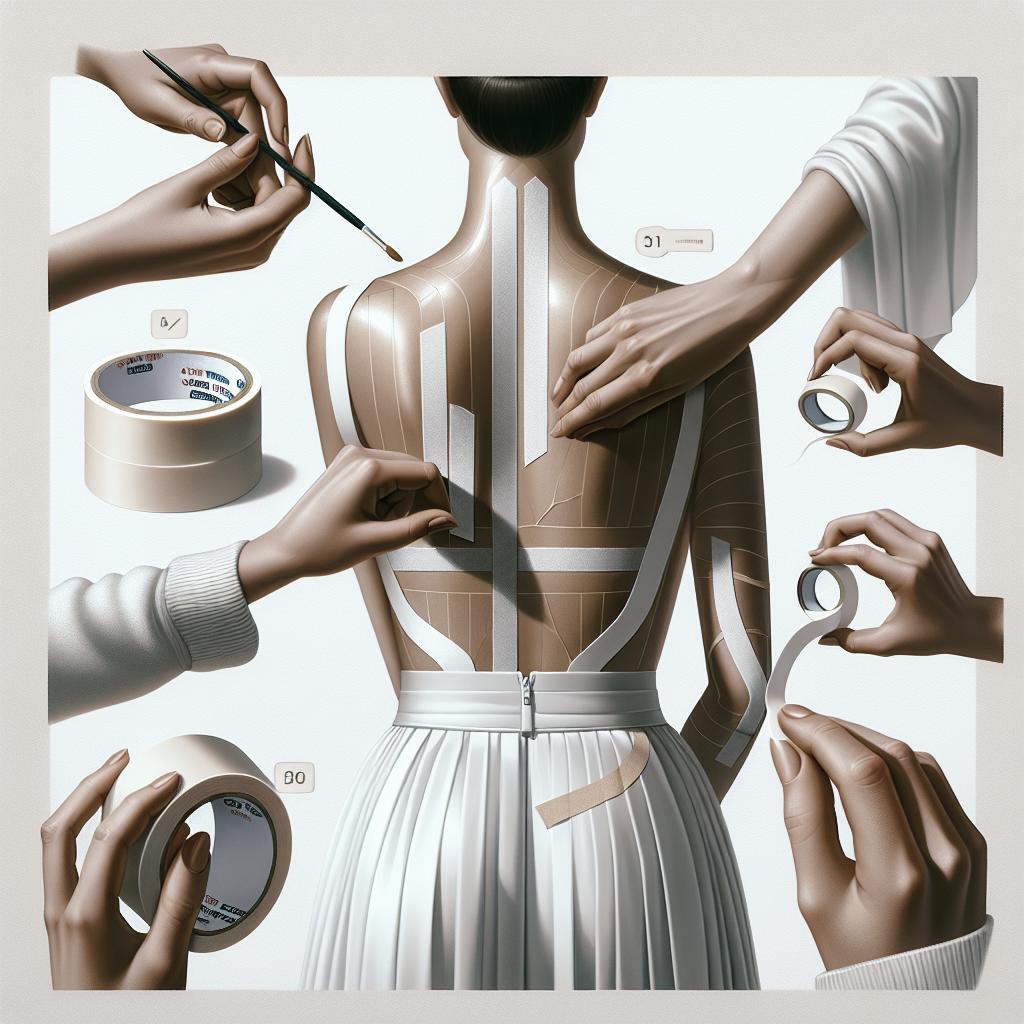
Boob tape has become a go-to solution for those seeking enhanced support and lift without the constraints of a traditional bra. Whether you are preparing for a red-carpet-worthy event or just a night out, this versatile tool is a game-changer. In this comprehensive guide, we’ll explore everything you need to know about boob tape. From understanding what it is, when to use it, and how to apply it correctly, to tips on removing it and utilizing it with different types of necklines, this blog post covers it all. You’ll also learn whether boob tape is suitable for all breast sizes. So, dive in to make your next strappy, backless, or plunging outfit look flawless!
What Is Boob Tape?
Boob tape is a specialized fabric tape designed to provide lift, support, and contour to the bust area without the need for a traditional bra. Often made from a blend of cotton and spandex, boob tape adheres to the skin and is both breathable and flexible, allowing for a comfortable wear throughout the day and night.
The tape is typically hypoallergenic and comes in various shades to match different skin tones, making it a discreet option. The adhesive is strong enough to hold your bust securely in place but gentle enough to remove without damage when used correctly. Its versatility makes it a favorite among fashion enthusiasts and celebrities alike.
When Should You Use Boob Tape?
Boob tape is perfect for occasions where a traditional bra won’t do the trick. Whether you’re wearing a strapless dress, a backless top, or a plunging neckline, boob tape provides the support and shape needed without visible straps or seams. It’s particularly useful for formal events, weddings, and red carpet appearances.
Moreover, many individuals turn to boob tape during the warmer months when lighter, more revealing clothing is common. It offers a seamless, natural look and is often more comfortable and less restrictive compared to strapless bras or stick-on bras. Essentially, any time you need a customized fit and superior lift, boob tape is a fantastic option.
How to Use Boob Tape
Step 1: Patch test
Before applying boob tape, it is essential to conduct a patch test to ensure you don’t have an allergic reaction to the adhesive. Apply a small piece of tape on the skin near your bust and leave it on for a few hours. Monitor for any signs of redness, itching, or irritation.
If you experience any discomfort or adverse reactions during the patch test, it’s best to refrain from using boob tape and explore other alternatives. Safety and comfort should always come first.
Step 2: Prepare Your Skin
Clean, dry skin provides the best surface for boob tape adhesion. Wash your skin with a gentle cleanser to remove any dirt, oil, or lotions. Make sure to thoroughly dry the area as moisture can affect the tape’s effectiveness.
Avoid applying oils, lotions, or creams to the skin prior to tape application, as these substances can interfere with the adhesive. If you have sensitive skin, a light dusting of baby powder can help mitigate any potential irritation.
Step 3: Plot
Stand in front of a mirror to plan the desired lift and shape. Use a makeup pencil to gently mark where you want the tape to start and end. This plotting phase is crucial for achieving even and symmetrical results on both sides.
Consider the neckline and style of your outfit to determine the best tape placement. Take your time during this step to ensure accuracy, as improper placement can lead to discomfort and suboptimal results.
Step 4: Cut Your Tape
Measure and cut strips of tape according to the plotting marks. It’s a good idea to start with longer strips that can be trimmed as needed. Having all your tape pieces pre-cut can make the application process smoother and more efficient.
Ensure the tape edges are smooth and free of frays to prevent any discomfort. Use sharp scissors for clean cuts. Remember, it’s better to cut more tape than you think you’ll need; you can always trim excess after application.
Step 5: Apply & Press
Begin applying the tape from the bottom of your bust, working your way upwards towards the shoulder or side, depending on your desired look. Firmly press the tape onto your skin, smoothing out any wrinkles or bubbles as you go.
Continue applying additional strips, slightly overlapping each piece for a seamless finish. After all the strips are in place, press down across the entire taped area to ensure secure adhesion. Adjust if necessary to achieve the perfect lift and contour.
How to Remove Boob Tape
Removing boob tape can be easy and painless if done correctly. Start by soaking the tape in a warm shower or using a warm, wet cloth to dampen it. This will help to loosen the adhesive.
Gently peel the tape off, starting from one corner and slowly pulling it back. Use your other hand to support your skin to minimize discomfort. If you experience resistance, apply more water or oil to the area to further loosen the adhesive.
After removal, cleanse the skin with a gentle cleanser to remove any residue. Apply a moisturizer to soothe and hydrate the skin.
How to Use Boob Tape for Different Necklines
Strapless Dresses
For strapless dresses, start by applying vertical strips of tape from the base of your bust to your shoulder or collarbone. The goal is to create lift and support without any visible tape.
Ensure the tape is evenly applied on both sides for symmetry. Trim any excess tape that might peek above the dress line.
Plunging Necklines
Plunging necklines require strategic placement of tape to maintain support while keeping the tape hidden. Apply the tape diagonally from the outer base of your bust inward, creating a V or U shape that mirrors the neckline.
Use shorter strips of tape to enhance the lift and adjust as needed for comfort and fit. This method offers a flawless look for low-cut tops and dresses.
Backless Dresses
Backless dresses call for an inventive approach to support. Start by applying strips horizontally across your bust, anchoring them from either side to your back or sides of your body.
For additional support, criss-cross the strips or apply additional layers, ensuring the ends of the tape are hidden and securely adhered. This creates a supportive yet invisible lift.
Halter Dresses
With halter dresses, apply the tape in a way that mimics the angle of the dress straps. Start from the lower bust area and move up towards the shoulders, following the curve and design of the halter neckline.
Ensure the tape provides sufficient lift and is symmetrical on both sides. Carefully trim any excess tape that may peek out from the halter straps.
Can All Breast Sizes Wear Boob Tape?
Boob tape can be effective for a wide range of breast sizes, offering support and lift regardless of bust size. Smaller busts will find it especially useful for creating shape and cleavage.
Larger busts may require additional strips or layers of tape to achieve the desired support and lift. It’s important to ensure the tape is applied securely and comfortably to prevent any mishaps or discomfort.
Ultimately, with the right technique, boob tape can be a versatile tool for anyone looking to enhance their silhouette without the limitations of a traditional bra.
Lessons Learned
| Section | Summary |
|---|---|
| What Is Boob Tape? | Boob tape is a flexible, adhesive fabric used to lift and support the bust without a bra. |
| When Should You Use Boob Tape? | Use it for strapless, backless, or plunging outfits where traditional bras are not suitable. |
| How to Use Boob Tape | Conduct a patch test, prepare your skin, plot the placement, cut the tape, and firmly apply it. |
| How to Remove Boob Tape | Soak the tape in warm water, peel it off gently, and cleanse the skin afterward. |
| Different Necklines | Each neckline needs a specific tape application technique for optimal support and invisibility. |
| Can All Breast Sizes Wear Boob Tape? | Yes, with the right application technique, boob tape can be used for various breast sizes. |


