Introduction
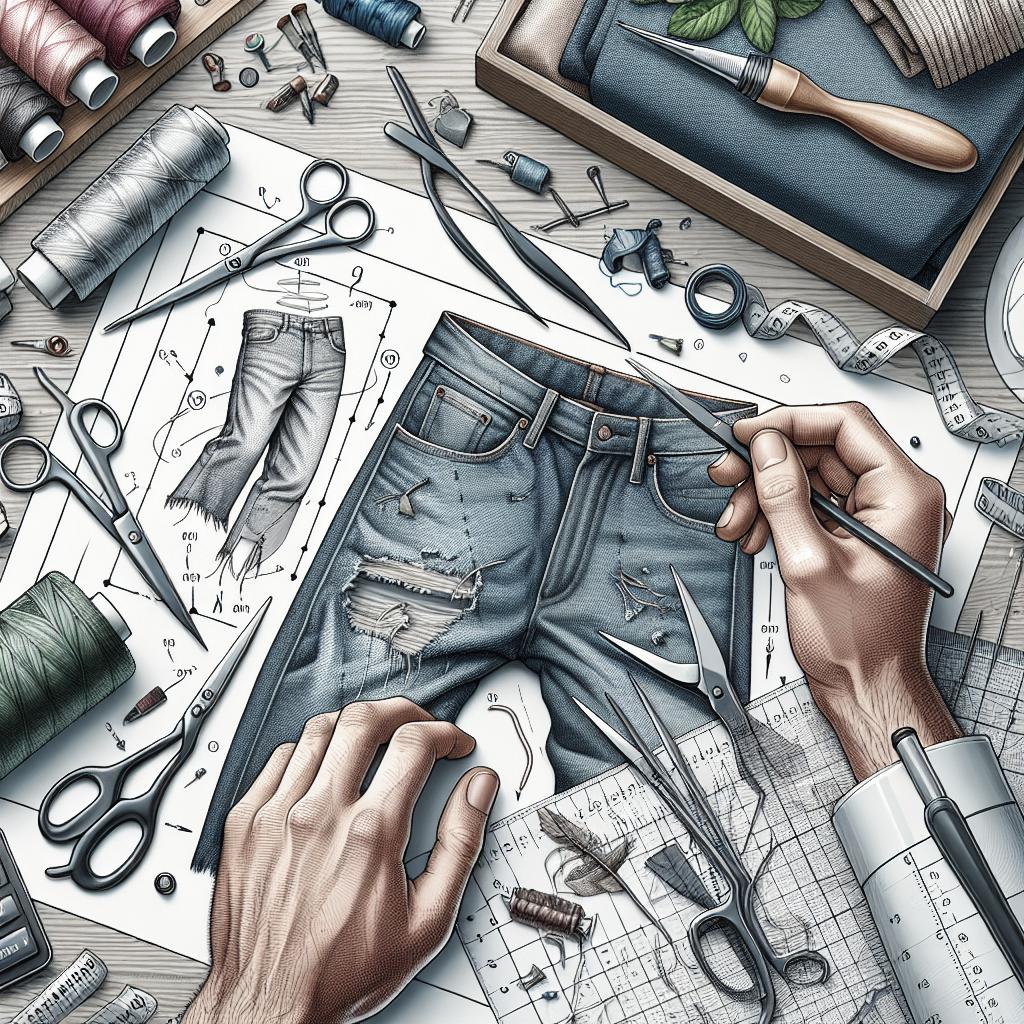
Distressed jeans are a timeless fashion statement, and if you’re looking to add a personal touch to your denim, fraying is a great do-it-yourself method. Fraying jeans involves creating strategically torn edges and a worn-in look that can turn an ordinary pair of jeans into a trendy cornerstone of your wardrobe. This guide will walk you through the essentials of how to fray jeans, with a step-by-step instructional format. You will learn how to trace your cutting line, cut the inseam, fray using different techniques, and finally, wash and dry your newly distressed denim to achieve the perfect look. Additionally, we’ve consulted an expert to provide some insider tips. Let’s get started on creating your perfect pair of frayed jeans!
Step 1: Trace Your Cutting Line
The first step in fraying your jeans is marking where you want to cut. This step is all about planning. Decide how high you want the fray to go, whether it’s just the hemline or if you want some knee rips as well. Use a piece of tailor’s chalk or a washable marker to trace your lines. Make sure you wear the jeans and mark the spots while you have them on, as this will give you the most accurate viewpoints.
After marking your desired cutting locations, lay the jeans flat on a table or any hard surface. Use a ruler to make sure your lines are straight and at the same height on both legs. This will ensure that the final look is even and professional. Remember, it’s always better to start small and make adjustments as needed.
Step 2: Cut the Inseam
With your lines traced, the next step is to cut along the inseam. This can be done with a sharp pair of fabric scissors, ensuring a clean cut. If you’re also cutting the knee area, fold the jeans and make small cautious slits to avoid cutting more than intended. Unfold and complete the cuts carefully.
Every nick and cut adds to the authenticity of the distressed look, so don’t worry if it’s not perfect. However, precision is key, especially for beginners. Be patient and take your time to refine the cuts until you’re satisfied. If you’re unsure, start with smaller cuts and gradually increase the size as you build confidence.
Step 3: Fray
Using Your Hands
One of the simplest ways to fray your jeans is by using your hands. After making the initial cuts, begin to pull at the threads along the edges. Grab the white horizontal threads and pull downwards. This will expose the blue vertical threads, giving your jeans the desired frayed look. Continue this process until you achieve the fray intensity you’re looking for.
It’s a time-consuming method, but it gives you the most control over how distressed the jeans will look. Plus, you can precisely decide the areas you want to fray more. For beginners, this might take a bit of practice, but it’s hard to go wrong while using your hands for this purpose.
With a Loofah or Razor
Using a loofah or razor can speed up the fraying process. Once you’ve made your cuts, rub the edges with a loofah, pumice stone, or even an old toothbrush. This roughs up the fabric, aiding in more natural-looking frays. For quick results, drag a disposable razor back and forth along the cut line.
These tools can offer a more uniform and quicker fray, but be careful not to overdo it. It’s easier to add more fraying than to take it away. Practice on a small section first to get a hang of the texture and the amount of pressure required. Adjust your approach based on the trial to ensure you achieve the perfect rough look.
Step 4: Wash and Dry Your Denim
After you’ve finished fraying, the final touch is to wash and dry your jeans. This step not only cleans the excess threads but also helps to blend and set the distressed areas. Throw your jeans in the washing machine on a gentle cycle with cold water, and allow them to air dry or tumble dry on low heat.
Washing further frays the ends and adds a natural worn-in look. Be prepared for a few surprises when you pull them out; the frayed edges will have a more authentic look. Always remember to check the garment after the wash to see if you need to make any additional adjustments.
Meet the Expert
We consulted with Natasha Brown, a well-known fashion designer who specializes in streetwear and custom-made denim. Her advice for beginners is to start with an old pair of jeans you don’t mind experimenting on. “Fraying denim is more of an art than a science. It’s about finding your style and perfecting the technique over time,” she says. Natasha emphasizes patience and enjoying the process. “Don’t rush. Each cut you make and every thread you pull is a step closer to creating something uniquely yours.”
Natasha also recommends looking at your wardrobe and taking inspiration from existing designs. “Look at the distressed and frayed jeans you love and figure out what you like about them, then try to mimic that on your own,” she advises. This will not only save you from expensive purchases but also add a personal touch to your outfits.
Lessons Learned
| Step | Action | Details |
|---|---|---|
| Step 1 | Trace Your Cutting Line | Wear jeans to mark cutting lines with tailor’s chalk for accurate placement. |
| Step 2 | Cut the Inseam | Use fabric scissors for clean cuts; start with small slits and gradually expand. |
| Step 3 | Fray | Use hands for manual control; alternatively, use a loofah or razor for quicker fraying. |
| Step 4 | Wash and Dry Your Denim | Wash on a gentle cycle and air dry to blend and set the distressed areas. |
| Expert Advice | Meet the Expert | Natasha Brown suggests starting with an old pair of jeans and taking inspiration from existing designs. |